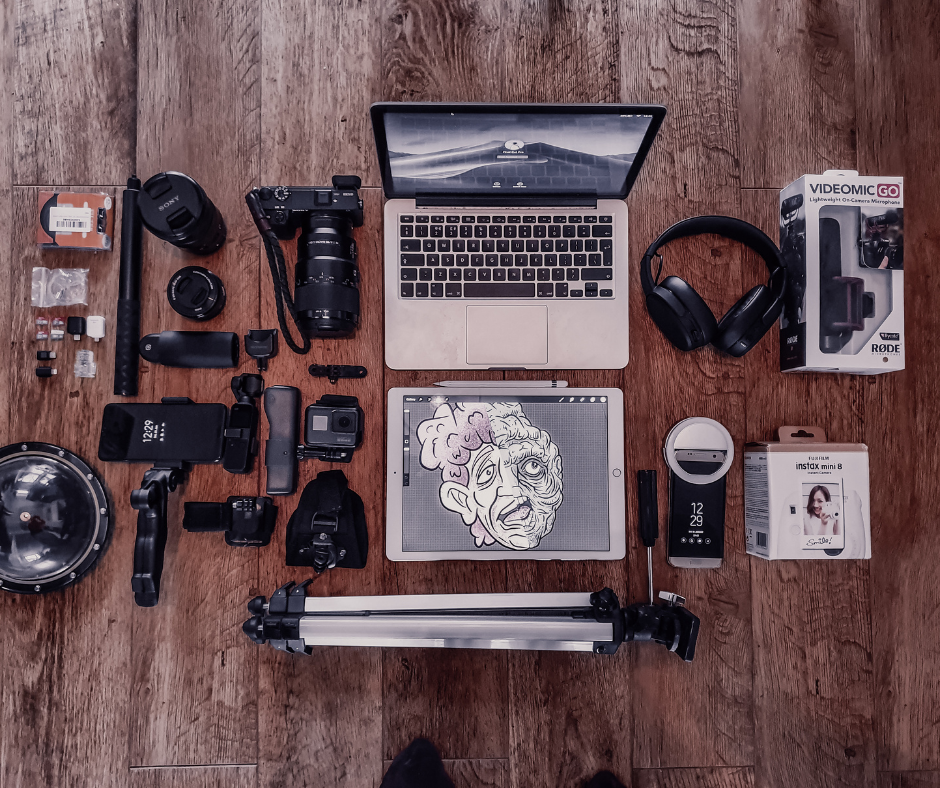
Picture this: You’ve just captured the Northern Lights dancing over an Icelandic glacier, or a rare glimpse of a elusive leopard in the Serengeti. These once-in-a-lifetime shots are priceless – but how do you ensure they make it home safely? Let’s dive into a foolproof strategy for backing up your travel photos, turning a potentially tedious task into an integral part of your photography adventure.
Pre-Trip Prep: Laying the Groundwork
- Memory Card Mastery
Before you jet off, give your memory cards some TLC:
- Inspect for damage: Retire any cards with visible wear and tear.
- Reformat in-camera: Start with a clean slate.
- Test run: Take a few shots and ensure they upload smoothly.
Pro Tip: Opt for multiple smaller capacity cards (32GB or 64GB) over a single large one. It’s like not putting all your eggs in one basket!

- Create a Foolproof Organization System
Turn your memory card case into a well-oiled machine:
- Color-code: Use blue stickers for full cards, red for empty ones.
- Number sequentially: Rotate usage to prevent overuse of any single card.
3.Portable Hard Drive Duo
Invest in two identical, high-quality portable hard drives:
- Choose ample storage: When in doubt, go bigger.
- Protect physically: Rubber bumpers or cases are your friends.
- Label clearly: “Travel #1” and “Travel #2” work wonders.
4.Software Setup
- Format drives for your operating system.
- Create a “Travel Photos” folder on each drive.
- Set up automated backup software (e.g., Chronosync for Mac).

5.Laptop Love
- Perform a full backup before departure.
- Update software, but avoid major OS upgrades.
On the Road: Your Daily Backup Ritual
6.The End-of-Day Upload
Make this as routine as brushing your teeth:
- Connect Drive #1 and your card reader.
- Import to Lightroom, saving to the “Travel Photos” folder on Drive #1.
- Run your backup software to mirror Drive #1 to Drive #2.
Result? Three copies of each image: memory card, Drive #1, and Drive #2.
7. Timing is Everything
- Single daily shoot? Backup before dinner.
- Multiple shoots? Add a midday session.
Bonus: Use this time to charge batteries!

8. Cloud Considerations
If you have reliable Wi-Fi, consider cloud syncing as an extra layer of protection.
9. The Two-Location Strategy
- Keep one drive in your camera bag, the other in your luggage.
- Always have one drive on your person.
This strategy protects against theft, accidents, or other unforeseen events.
Home Sweet Home: Integrating Your Travel Treasures
10. The Great Migration
Move your images from the travel drive to your main photo storage:
- Connect both drives to your computer.
- In Lightroom, drag and drop folders from the travel drive to your main drive.
- Be patient – this process takes time!

11. Backup, Backup, Backup
- Run your usual backup routine for your main photo storage.
- Verify that file names match across drives.
12.Clean Slate for Next Adventure
Once you’re sure everything’s safe and sound:
- Wipe your travel drives and memory cards.
- Update your cloud backup.

Pro Tips for the Road Warriors
- If you travel frequently, consider keeping your entire Lightroom catalog on your laptop.
- For those with separate travel and home computers, import directly to your main Lightroom catalog when you return.
Embracing the Backup Mindset
Think of your backup routine not as a chore, but as the final step in preserving the incredible moments you’ve captured. Each time you run through this process, you’re ensuring that the story of your travels – told through your unique photographic vision – is safe and secure.
Remember, the few extra minutes it takes to back up your photos pale in comparison to the heartbreak of losing irreplaceable images. So make it a habit, make it fun, and let it become part of your travel photography ritual.
Now, we’d love to hear from you! What are your go-to backup strategies when you’re on the road? Have you ever had a close call with losing travel photos? Share your stories and tips in the comments below – let’s learn from each other and keep our photographic memories safe!
