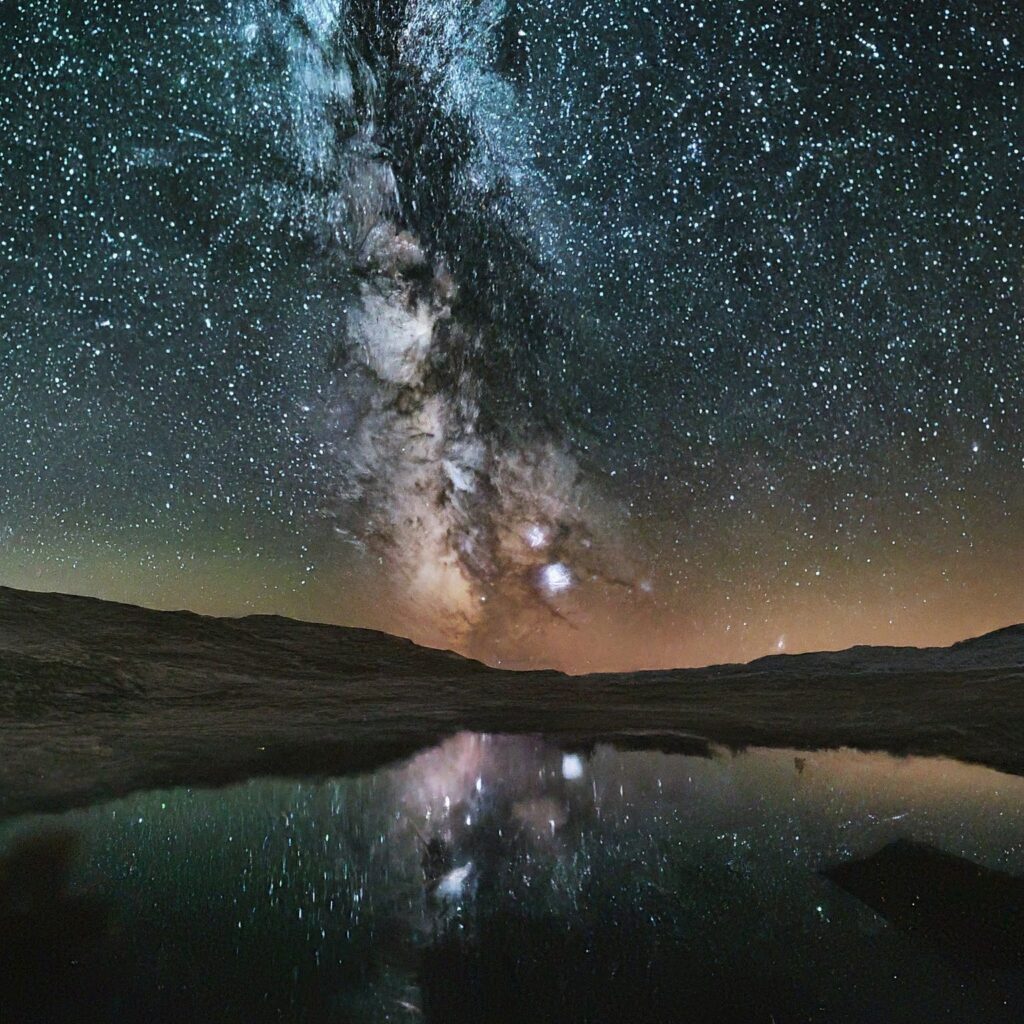
Photographing the night sky is a thrilling experience that can yield breathtaking images. With advancements in camera technology, capturing the wonders of the cosmos is now within reach for many photographers.
The Magic of Astrophotography
Whether you’re an experienced astrophotographer or just starting, you’ve likely discovered that capturing stellar images of the stars and the Milky Way requires more than just the right gear. It takes skill, patience, and creativity to stand out.
Even when you manage to snap sharp, well-exposed shots of the night sky, you might feel that something is missing. Often, the missing piece is an interesting foreground. A stunning night sky gains depth and context when paired with compelling elements from Earth.
Elevating Your Night Sky Images

To make your night sky photos truly captivating, consider adding foreground interest. Elements like rock formations, trees, lighthouses, or old barns can transform your astrophotography.
Introducing Light Painting
A common challenge in astrophotography is the lack of ambient light to illuminate the foreground, especially in remote locations far from light pollution. Light painting is a simple and effective technique to address this. It involves using a light source to highlight parts of your scene, adding depth and intrigue.
Tools for Light Painting
The great news is that you don’t need expensive equipment for light painting. Here are some tools you can use:
- Flashlights
- Light bars
- Camping lamps
- Your phone screen
- Car headlights
- Drones
A headlamp, which I always bring for visibility, often doubles as an excellent light painting tool.
How to Light Paint
- Set Up Your Camera: Position your camera and take a test shot to ensure the sky and stars are well-exposed.
- Start Painting with Light: Once your settings are correct, use your light source to illuminate the foreground. Begin with a small amount of light and gradually increase it as needed.
- Experiment with Angles: Try light painting from different angles to see how it affects the scene. Don’t worry about stepping into the frame; with long exposure times, you won’t be visible if you keep moving. Just avoid pointing the light directly at the lens.
Tips for Effective Light Painting
- Less is More: It’s easy to overdo the light. Start with minimal illumination and adjust as necessary.
- Soft Light Sources: A softer light, like your phone screen, can create a more natural effect and allows you to control the color.
- Off-Camera Lighting: Light from the sides adds depth and a more natural look. Move around to vary the angles of illumination, but be cautious of your footing.
Editing Your Light-Painted Photos
When it comes to editing, having multiple exposures helps. You might find one frame that perfectly captures the light painting, or you may need to blend several shots in Photoshop to create a composite. Start with basic edits in Lightroom, then combine the images in Photoshop for the best results.
Enjoy the Process
Light painting is not just a technique; it’s a creative process that adds a new dimension to your astrophotography. The next time you head out for a night shoot, bring along an extra light source and try light painting. You’ll find that it not only enhances your photos but also makes the experience more enjoyable and rewarding.
By incorporating light painting into your astrophotography, you’ll be able to create images that are not only technically excellent but also visually compelling and full of depth. Give it a try and watch your night sky photos come to life.Transform Your Astrophotography with Light Painting
